Sprucing up your home with wallpaper can work wonders for its look and feel, but if your walls are damp, it can throw a wrench in your plans. Here’s the lowdown on how to deal with damp walls before you start wallpapering.
So, what’s the deal with damp walls? Well, they’re not just about looks. They can cause serious problems like mold and even structural issues. In a place like Florida where it’s super humid, keeping moisture under control is key. Before you dive into wallpapering, you’ve gotta figure out why your walls are damp. It could be leaks, poor airflow, or just too much humidity hanging around.
Step 1: Fix the Dampness Source
Before you even think about wallpaper, fix whatever’s making your walls damp. That might mean patching up leaks, adding better vents in places like bathrooms and kitchens, or even using dehumidifiers to suck up extra moisture.
Step 2: Get Those Walls Clean
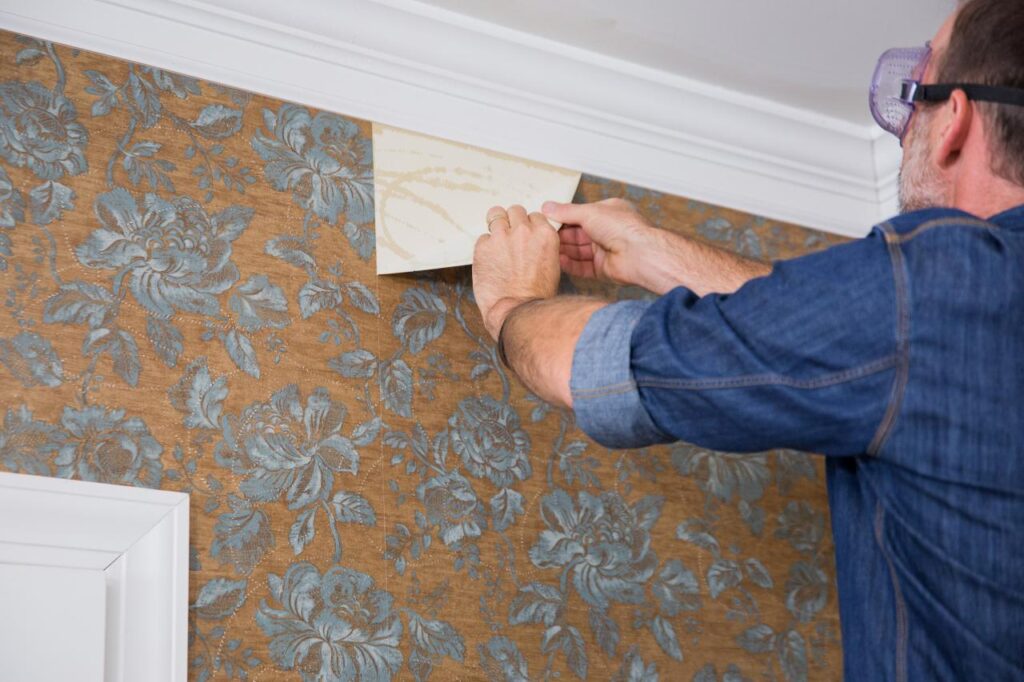
Now that the dampness problem is under control, it’s time to clean up those walls. Strip off any old wallpaper or paint and give ’em a good scrub to get rid of mold, mildew, and dirt. You can use a mix of water and mild soap or a special cleaner. If there’s mold, a mix of water and bleach can do the trick. Just make sure to wear gloves and keep the room ventilated.
Step 3: Stop Mold in Its Tracks
After cleaning, use an anti-mold solution to stop mold from coming back. There are special products for this, like anti-mold primer. It not only kills existing mold but also stops new mold from growing.
Step 4: Seal Those Walls
Now that your walls are clean and dry, it’s time to seal ’em up. In a humid place like Florida, you need a moisture barrier to keep moisture from getting through the walls. You can use a liquid membrane or a cream to get the job done.
Step 5: Prime Time
Once the walls are sealed, put on a primer designed for damp walls. It helps the wallpaper stick better and adds another layer of protection against moisture.
Step 6: Fix Any Flaws
Check for cracks or holes and fill ’em in with filler. Sand ’em down smooth so your wallpaper goes on nice and even.
Step 7: Add Lining Paper
For extra protection and a smooth surface, consider putting on lining paper before the wallpaper. It helps even out the wall and adds another layer against moisture.
Step 8: Get the Right Glue
Make sure you’re using the right glue for your wallpaper. It needs to be able to handle the humidity. Look for ones that resist mold and follow the instructions carefully.
Step 9: Wallpaper Time
Now comes the fun part – putting up the wallpaper! Start in a corner and work your way around the room, smoothing out any bubbles as you go.
Step 10: Take Care After
Once the wallpaper’s up, keep the room well-ventilated while the glue dries. Check for any signs of dampness or mold regularly and deal with them pronto.
In Conclusion
Dealing with damp walls before wallpapering might seem like a hassle, but it’s worth it for a beautiful and long-lasting finish. Whether you’re doing it yourself or calling in the pros, following these steps will help you get the job done right. If you need more help, don’t hesitate to reach out to Wall Mastery for expert advice and services.
Contact Wall Mastery for Your Wallpaper Installations
Call or text: 352-561-3616
Dealing with damp walls in Florida
How to prepare damp walls for wallpapering
Fixing damp walls before wallpapering
Wallpapering tips for damp walls
Addressing dampness before wallpaper installation
Preventing mold on damp walls in Florida
Handling damp walls in humid climates
Steps to prepare damp walls for wallpapering
Tips for dealing with dampness in Florida homes
Preparing walls for wallpaper in a humid environment
Solutions for damp walls before wallpapering
Managing moisture before wallpaper installation
Florida-specific tips for wallpapering on damp walls
DIY guide for handling damp walls before wallpapering
How to tackle dampness issues before wallpapering
Preparing walls for wallpaper in high humidity areas
Techniques for dealing with damp walls in Florida homes
Essential steps for wallpapering on damp walls
Troubleshooting damp walls before wallpaper installation
Addressing dampness challenges in Florida homes
Wallpapering advice for damp walls in humid climates
Protecting walls from moisture before wallpapering
Tips for successful wallpapering on damp walls
Preventing mold growth on walls before wallpapering
How to ensure a lasting wallpaper finish on damp walls
Wall preparation tips for dampness in Florida
Solutions for damp walls in preparation for wallpapering
Steps to take before wallpapering on damp walls
Managing dampness for successful wallpaper installation
Advice for homeowners with damp walls in Florida
Best practices for addressing damp walls before wallpapering
Tips for proper wall treatment in humid Florida conditions
Overcoming dampness challenges before wallpaper installation
Essential wall preparation for wallpapering in Florida
How to prime walls for wallpaper in humid climates
Dehumidifying strategies for wallpapering on damp walls
Steps to create a moisture barrier for wallpapering
Techniques for ensuring proper adhesion on damp walls
Wallpapering on damp walls: Dos and don’ts
Addressing mold issues before wallpapering in Florida
Proper cleaning and treatment of damp walls for wallpapering
Tips for selecting the right wallpaper adhesive for damp walls
How to repair and prepare damp walls for wallpapering
Preventing moisture damage during wallpaper installation
Key steps for successful wallpapering in damp environments
Damp wall solutions for DIY wallpapering projects
Managing humidity for successful wallpapering in Florida
How to maintain walls after wallpapering in humid conditions
Tips for choosing wallpaper suitable for damp walls
Avoiding common pitfalls when wallpapering on damp walls