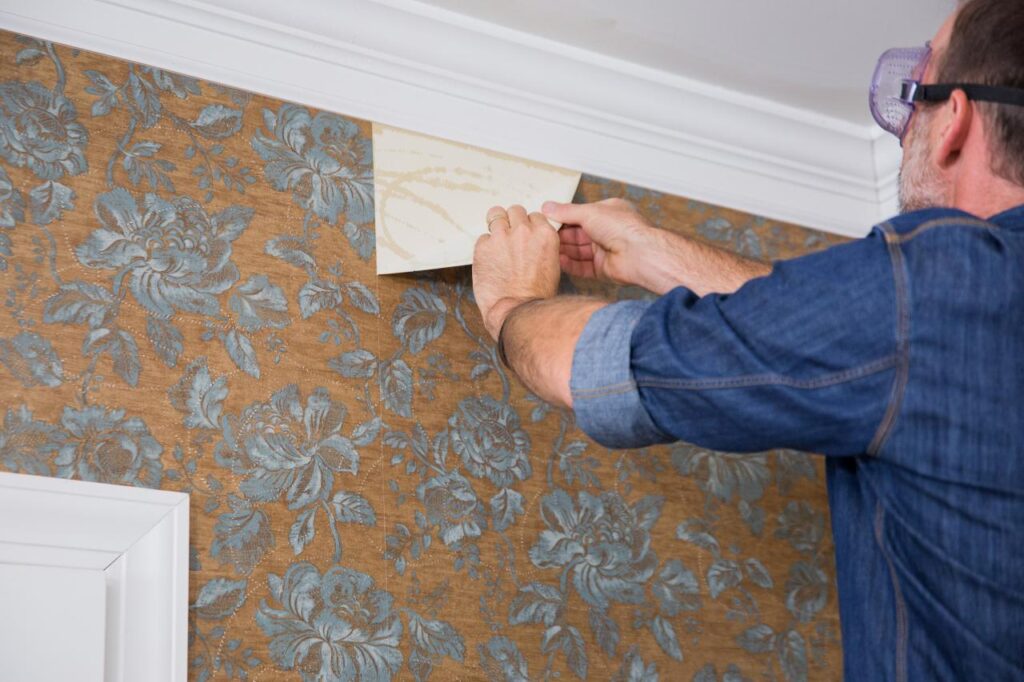
Are you ready to transform your space into a work of art with wallpaper? Whether you’re a seasoned DIY enthusiast or seeking professional assistance, getting that flawless finish is key. Let’s dive into the world of wallpapering and learn how to line up your wallpaper perfectly, making your walls a canvas of seamless beauty!
Getting Started: Preparing Your Wall
First things first, let’s prep your wall. Imagine it like getting a canvas ready for painting! Clean, dry, and smooth walls are essential. Remove any old wallpaper, flaky paint, or debris. Fill in cracks and sand down rough spots. A well-prepared surface helps the wallpaper stick properly, preventing bubbles and wonky lines.
Gather Your Tools: What You’ll Need
Having the right tools is like having the perfect paintbrushes for your masterpiece. Here’s what you’ll need:
- Wallpaper adhesive: Choose a good one that matches your wallpaper type.
- Smoothing tool: This helps get rid of air bubbles and gives you that smooth finish.
- Utility knife: Perfect for trimming around edges and corners.
- Level: To make sure your wallpaper hangs straight.
- Tape measure: For accurate measurements.
- Plumb line: It helps you start straight with the first strip.
- Brush or roller: For applying adhesive.
- Let’s Hang Some Wallpaper: Step-by-Step
Step 1: Measure and Cut
Measure the height of your wall and add a bit extra for trimming. Cut your first strip of wallpaper accordingly, making sure the patterns line up if you’re cutting multiple strips.
Step 2: Apply Adhesive
Spread adhesive evenly on the back of the wallpaper. No lumps allowed! If your wallpaper is pre-pasted, follow the instructions for activating the adhesive.
Step 3: Mark the Starting Point
Draw a straight line on the wall using a level and pencil. This line guides you to hang the first strip straight.
Step 4: Hang the First Strip
Align the top of the wallpaper with the top of the wall, leaving extra at the ceiling. Smooth it out, following your guide line, and trim the excess at the top and bottom.
Step 5: Match Those Patterns
Pay close attention to the pattern when hanging the next strip. Dry-fit it first to make sure the patterns match. Then, apply adhesive and hang it next to the first strip, overlapping slightly.
Dealing with Corners and Edges
Corners can be tricky! For inside corners, measure and cut the strip to fit, wrapping it slightly around the corner. For outside corners, wrap the wallpaper around and trim to fit.
Final Touches: Making It Perfect
Step back and admire your work! Smooth out any bubbles or misaligned seams. Make sure all edges are firmly stuck. Let it dry completely.
Tips from the Pros at Wall Mastery
- Good lighting is your friend! It helps you see any imperfections.
- Keep the room at the right temperature and humidity to avoid adhesive issues.
- Practice makes perfect! Start with a small area if you’re new to wallpapering.
- For tricky patterns or large areas, consider hiring professionals like us at Wall Mastery!
Why Choose Wall Mastery?
We’re experts in wallpaper installation, based right here in sunny Florida! Our team ensures a flawless finish every time, using the latest techniques and tools. From prep to perfection, we’ve got you covered.
Conclusion: Your Wallpaper Masterpiece Awaits!
With the right tools, techniques, and maybe a little help from Wall Mastery, you can turn your walls into a work of art. Whether you DIY or call in the pros, follow these steps for a beautiful, seamless finish. Let’s make your wallpaper dreams a reality – contact us today!
With precision and style, your walls will tell a story of beauty and craftsmanship, thanks to the magic of wallpaper.
Contact Wall Mastery for Your Wallpaper Installations
Call or text: 352-561-3616
Wallpaper installation guide
How to hang wallpaper perfectly
Transforming your space with wallpaper
DIY wallpapering tips
Professional wallpaper installation services
Wallpapering techniques for beginners
Flawless wallpaper finish
Wallpaper preparation steps
Tools for wallpaper installation
Wallpaper adhesive types
Smoothing tool for wallpaper
Utility knife for wallpapering
Leveling wallpaper guide
Tape measure for wallpapering
Using a plumb line for wallpapering
Applying adhesive to wallpaper
Hanging the first wallpaper strip
Matching wallpaper patterns
Dealing with wallpaper corners
Trimming wallpaper edges
Final touches for wallpapering
Wallpapering tips from professionals
Lighting for wallpaper installation
Temperature and humidity for wallpapering
Practicing wallpaper installation
Hiring professional wallpaper installers
Expert wallpaper installation in Florida
Wallpaper installation company in sunny Florida
Choosing the right wallpaper installer
Wallpaper installation near me
Wallpapering services in Florida
Best wallpaper installers in Florida
Wallpapering professionals in your area
Wallpaper installation costs
DIY vs. professional wallpaper installation
Benefits of professional wallpaper installation
Wallpapering for a seamless finish
Perfecting your wallpaper masterpiece
Achieving a flawless wallpaper finish
Tips for successful wallpaper installation
Creating a wallpapered masterpiece
Wallpapering with precision
Beautify your walls with wallpaper
Expert tips for wallpapering
Mastering the art of wallpaper installation
Wallpapering made easy
Perfect wallpapering techniques
Seamless wallpaper installation
Wallpapering like a pro
Turning walls into works of art with wallpaper