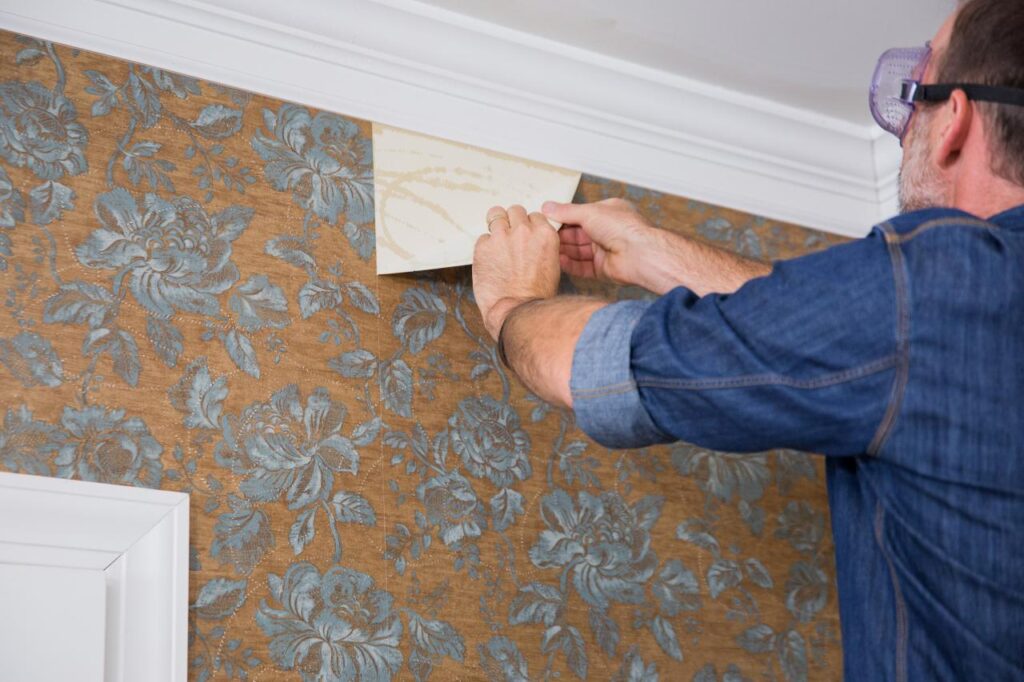
Embarking on a do-it-yourself (DIY) wallpaper adventure can turn your room into a personal wonderland! If you’re just starting out and want an easy guide, you’re in the right spot. Let’s dive into the basics of DIY wallpaper installation, with cool tips from Wall Mastery, a super handy expert from Okahumpka, Florida.
Picking Awesome Wallpaper:
First things first, choose wallpaper that matches your style. Wall Mastery, the expert from Okahumpka, says your wallpaper should fit how your room looks. Think about colors, patterns, and how it feels. Get advice from pros like Wall Mastery for suggestions that fit your taste and your home in Okahumpka.
Get Ready for Action:
Before you start, get everything ready. Wall Mastery says a clean and smooth wall is a must. Take off old wallpaper or loose paint and fix any holes. Measure your walls, even around doors and windows, to know how much wallpaper to get. Buy all your supplies – wallpaper, glue, smoothing tool, and a cool cutting knife.
The Right Tools Matter:
Having cool tools is super important. Wall Mastery suggests getting good quality stuff for a smooth process. You’ll need wallpaper glue, a brush or roller to smooth things out, a sharp knife, a straight edge, and a tape measure. Having these tools will make your DIY project much easier.
Spread the Wallpaper Magic:
Once your walls are ready and your tools are set, it’s time for glue! Follow the instructions and use a brush or roller to put the glue on the back of the wallpaper. Make sure to get it all the way to the edges. This step makes sure the wallpaper sticks well to the wall.
Measure and Cut Like a Pro:
With the glue on, it’s time to measure and cut. Wall Mastery says start from a special spot, like the middle of a wall. Use your measurements to cut the wallpaper, leaving a bit extra at the top and bottom. Match patterns if your wallpaper has them, and double-check before you cut.
Let’s Stick it On:
Now for the fun part – sticking the wallpaper on the wall! Start from your special spot, making sure the top matches with the ceiling. Gently press the wallpaper and smooth it out with a brush or roller. Wall Mastery suggests working from the middle out to get rid of air bubbles and wrinkles. Take your time and fix things if needed for a perfect look.
Smooth Out Air Friends:
Watch out for air bubbles or wrinkles as you go. Use a smoothing tool to gently push out any trapped air. Wall Mastery says this makes your wallpaper look like a pro did it. If you see stubborn bubbles, lift the wallpaper a bit and try again for a smooth and bubble-free wall.
Keep the Room Happy:
Keep your room comfy during the whole wallpaper party. Wall Mastery says good ventilation and a nice temperature help the glue set right. If you’re in Okahumpka, Florida, think about the local weather – it can affect how fast the glue dries.
Oops, Watch Out for These:
Even with a plan, things might not always go perfectly. Wall Mastery shares some things to avoid:
Not getting walls ready: Fixing your walls is a must for a smooth finish.
Ignoring patterns: If your wallpaper has patterns, make sure they match up right.
Ignoring wall problems: Fix any issues with your walls before starting.
Rushing: Take your time to do things right and avoid big mistakes.
Okahumpka-Friendly Wallpaper:
Wall Mastery knows Okahumpka’s vibe can affect your wallpaper choice. Think about wallpapers that can handle the weather, especially if it’s all over the place. Get advice from locals like Wall Mastery for the best picks in Okahumpka.
In a Nutshell:
To sum it up, DIY wallpaper is all about planning and details. With the right tools, expert tips, and a focus on your home in Okahumpka, you’ll nail it. Wall Mastery, the local expert, says pick the right wallpaper, prepare well, and install with care. Follow this step-by-step guide and learn from the best to turn your room into something amazing!
Contact Wall Mastery for Wallpaper Installations
Call or text: 352-561-3616
DIY wallpaper Okahumpka
Okahumpka wallpaper installation
Wall Mastery DIY guide
Wallpaper tips for Okahumpka homes
DIY wallpaper with Wall Mastery in Florida
Okahumpka room transformation guide
Step-by-step wallpaper Okahumpka
Wall Mastery Okahumpka wallpaper expert
Okahumpka DIY room decor
Wallpaper ideas for Okahumpka homes
Wall Mastery’s DIY wallpaper secrets
Florida home improvement with wallpaper
Okahumpka room makeover with Wall Mastery
DIY wallpaper tricks in Okahumpka
Wall Mastery’s guide to Okahumpka home decor
Wallpaper trends in Okahumpka, Florida
Okahumpka interior design with Wall Mastery
Easy DIY wallpaper Okahumpka
Wall Mastery’s Okahumpka wallpaper adventure
Wallpaper wonders in Okahumpka homes
Wall Mastery’s DIY room tips for Okahumpka
Okahumpka weekend DIY project
Transforming rooms with Wall Mastery in Okahumpka
Okahumpka home improvement DIY
DIY wallpaper makeover in Okahumpka
Wall Mastery’s Okahumpka home hacks
Quick and easy wallpaper DIY in Okahumpka
Wall Mastery’s Okahumpka interior transformation
Wallpaper wonders for Okahumpka beginners
Okahumpka DIY home projects with Wall Mastery
Wall Mastery’s guide to wallpaper perfection in Okahumpka
DIY wallpaper wonders in Okahumpka, Florida
Okahumpka room refresh with Wall Mastery
Wallpaper magic in Okahumpka homes
Wall Mastery’s Okahumpka DIY room upgrade
Okahumpka home decor with DIY wallpaper
Wallpaper adventure tips in Okahumpka
Wall Mastery’s Okahumpka room transformation guide
Okahumpka DIY home improvement with wallpaper
DIY wallpaper inspirations for Okahumpka residents
Wall Mastery’s Okahumpka home DIY essentials
Okahumpka weekend DIY wallpaper project
Wallpaper wonders for Okahumpka dwellings
Wall Mastery’s Okahumpka room makeover guide
DIY wallpaper tips for Okahumpka beginners
Okahumpka home DIY with Wall Mastery
Wall Mastery’s Okahumpka wallpaper installation made easy
Wallpaper trends for Okahumpka homes with Wall Mastery
Okahumpka DIY room decor with Wall Mastery
DIY wallpaper secrets for Okahumpka dwellers