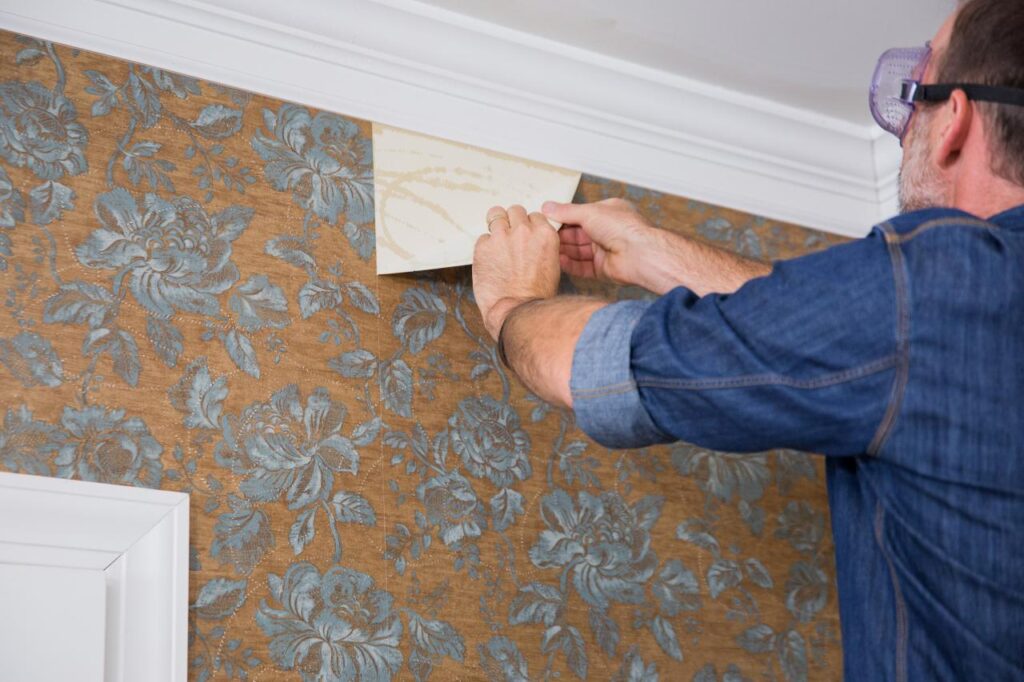
Welcome to the fantastic world of DIY wallpaper magic! If you’re eager to give your room a cool makeover without spending too much, let Wall Mastery be your guide through every step. We’re the go-to folks for fixing things up in Howey-In-The-Hills, Florida, and we know how important it is to make your home look awesome. Let’s jump into the super fun journey of transforming your walls with our super cool DIY Wallpaper Installation guide.
Choosing the Perfect Wallpaper:
Before you start your wallpaper adventure, it’s super important to pick the right wallpaper for your room. At Wall Mastery, we say think about things like what you use the room for, how much light there is, and what style you like. Choose wallpapers that match your taste and go well with your room’s look. Whether you like crazy patterns or more chill textures, picking the perfect wallpaper is like setting the stage for an amazing show!
Tools and Stuff You’ll Need:
As they say, “A handy person is only as good as their tools,” and that’s totally true for DIY wallpaper too. Get all the things you need to make things easy and smooth. Wall Mastery suggests having these cool items ready:
Wallpaper glue
Wallpaper smoother
Utility knife or wallpaper cutter
Measuring tape
Level (to make sure things are straight)
Sponge
Drop cloth or plastic sheet (to keep things clean)
Wallpaper brush or roller
Seam roller
Pencil
Getting Your Walls Ready:
The key to making your wallpaper stick is to get your walls ready. Start by cleaning and priming them. Wall Mastery says a good primer makes your walls nice and smooth for the wallpaper to stick to. Fix any cracks or bumps, and put down a drop cloth so you don’t spill glue everywhere.
Measuring and Cutting Like a Pro:
You’ve gotta be spot-on with measurements when putting up wallpaper. Measure how tall and wide your walls are, and think about doors and windows too. When cutting the wallpaper, add a bit extra to cover any differences in wall height and to match up patterns. Wall Mastery says double-check your measurements before you start cutting to avoid wasting any wallpaper and to make everything look perfect.
Sticking It All Together:
With your walls ready and measurements in hand, it’s time to put on the wallpaper glue. Follow the instructions on how to mix and put it on. Wall Mastery says start in a corner and work your way across the wall. Use a brush or roller to spread the glue evenly.
Putting Up the Wallpaper:
Now comes the fun part – putting up the wallpaper! Align it carefully with the top of the wall, leaving a bit hanging over at the top and edges. Smooth out any bubbles or wrinkles with a wallpaper smoother. Wall Mastery suggests using a level to make sure your wallpaper is straight. Use a knife or cutter to trim off the extra bits at corners and edges.
Dealing with Where the Wallpaper Meets:
Making the seams in your wallpaper disappear is important for making it look professional. Once the wallpaper’s up, use a seam roller to press down on the seams so they stick well. If your wallpaper has a fancy pattern, take your time to match it up perfectly. Wall Mastery’s trick: use a damp sponge along the seams to get rid of any extra glue for a clean finish.
The Finishing Touch:
As you reach the end of your DIY wallpaper adventure, step back and look at your awesome work. Let the wallpaper dry completely before moving your furniture back in. Wall Mastery says fix up any spots that need extra attention. Enjoy your cool new room and be proud that you did it yourself!
Taking Care of Your Wallpaper:
To keep your wallpaper looking great, Wall Mastery suggests cleaning it every now and then with a damp cloth to get rid of dust and dirt. Keep extra wallpaper handy in case you need to fix any small damages. If you ever want to change your wallpaper, follow the instructions carefully so you don’t mess up your walls.
In the End:
Congrats on being a DIY wallpaper pro with Wall Mastery’s awesome guide! Changing up your room has never been easier, and with the right tools and tricks, anyone can make things look super pro. Remember, Wall Mastery is always here to help out the folks in Howey-In-The-Hills, Florida, with their home projects. Happy decorating!
Contact Wall Mastery for Wallpaper Installations
Call or text: 352-561-3616
DIY wallpaper installation guide
Howey-In-The-Hills Florida wallpaper tips
Wall Mastery DIY wallpaper
Choosing wallpaper for room makeover
How to pick the perfect wallpaper
DIY wallpaper tools and supplies
Wallpaper glue application tips
Wallpaper smoother techniques
Utility knife for wallpaper cutting
Measuring tape for wallpaper installation
Using a level for wallpaper alignment
Sponge for wallpaper installation
Drop cloth for wallpaper project
Wallpaper brush or roller advice
Seam roller for wallpaper seams
Wallpaper cutting with a pencil
Getting walls ready for wallpaper
Cleaning and priming walls for wallpaper
Fixing cracks and bumps before wallpaper
Wallpaper primer importance
Preparing walls for wallpaper
Measuring walls for wallpaper
Professional wallpaper measurements
Wallpaper cutting tips and tricks
Cutting wallpaper like a pro
Double-checking measurements for wallpaper
Applying wallpaper glue
Spreading wallpaper glue evenly
Starting wallpaper installation in a corner
Step-by-step wallpaper installation
Aligning wallpaper with the top of the wall
Smoothing out bubbles in wallpaper
Using a level for straight wallpaper
Trimming excess wallpaper at corners
Dealing with wallpaper edges
Making wallpaper seams disappear
Pressing down seams with a roller
Matching wallpaper patterns
Using a damp sponge for clean wallpaper seams
Finishing touches for DIY wallpaper
Letting wallpaper dry completely
Moving furniture after wallpaper installation
Fixing spots that need extra attention
Taking care of wallpaper after installation
Cleaning wallpaper with a damp cloth
Keeping extra wallpaper for small damages
Changing wallpaper without damaging walls
DIY wallpaper pro tips
Wall Mastery’s wallpaper guide
Home projects in Howey-In-The-Hills Florida