 Are you ready to give your room a whole new vibe but don’t know where to begin? Well, here’s an awesome idea: try doing it yourself (DIY) with wallpaper! This guide will take you through each step, making it super fun and easy for beginners. And guess what? We’ll get some tips from Wall Mastery, the coolest handyman in Groveland, Florida!
Why Go for DIY Wallpaper?
DIY projects not only make your home uniquely yours but also save you money compared to hiring pros. With some guidance and the right tools, you can make your room look super cool. Wallpaper is a fantastic way to bring fresh, new energy to your space.
1. Planning and Getting Ready
Before you start putting up wallpaper, plan things out. Measure your walls and think about the rolls and patterns. Wall Mastery says measure the height and width of each wall and multiply them to find out how much wallpaper you need. Once you have everything, gather your tools: tape measure, utility knife, wallpaper adhesive, smoothing brush, and a straight edge. Ben can help you pick the best materials for your project.
2. Prepping the Walls
To get a good result, your walls need to be ready. Clean off any dust or old wallpaper, fix cracks or holes, and make it all smooth. Wall Mastery insists on starting with a clean surface for the best wallpaper look.
3. Putting on Wallpaper Adhesive
Follow the instructions on the wallpaper adhesive carefully. Wall Mastery suggests using a paint roller to spread the adhesive evenly on the back of the wallpaper. Pay extra attention to edges and corners to avoid peeling later on.
4. Measuring and Cutting
Now, the fun part! Measure and mark where you want the wallpaper, leaving a bit extra for trimming. Use a straight edge and a sharp utility knife to cut cleanly. Wall Mastery says check your measurements twice to avoid wasting any wallpaper.
5. Applying the Wallpaper
Line up the top of the wallpaper with the ceiling or a reference line and smooth it onto the wall using a wallpaper brush. Start from the middle and work outward, getting rid of any air bubbles or wrinkles. Repeat for each strip, making sure patterns match up if you have them.
6. Smoothing and Trimming
After applying the wallpaper, use the smoothing brush to get rid of air bubbles. Pay extra attention to seams and corners. Wall Mastery suggests using a sharp utility knife to trim extra wallpaper at the top and bottom for a professional look.
7. Seams and Patterns
If your wallpaper has a pattern, make sure the seams match up. Wall Mastery says overlap the edges a bit and line up the pattern carefully. Take your time with this step for a super cool result.
8. Maintenance and Care
Congrats on finishing your DIY wallpaper project! Wall Mastery says to avoid too much moisture, as it can mess with the adhesive. Just clean with a soft, damp cloth to keep it looking fresh.
9. Removing Wallpaper
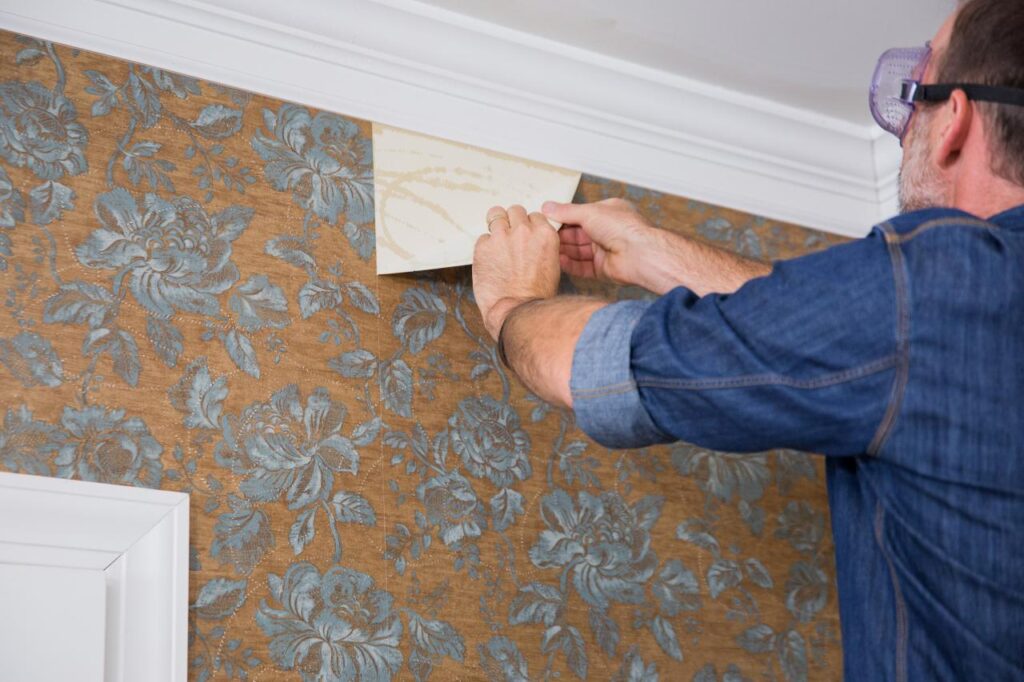
If you ever want to change things up, removing wallpaper is easy. Peel off a corner and gently pull it away. Use a wallpaper steamer or water and vinegar if it’s stubborn. Wall Mastery can help with wallpaper removal or any other Groveland handyman needs.
In Conclusion
Doing a DIY wallpaper project is so much fun and adds a special touch to your home. With Wall Mastery’s advice and Groveland’s awesome vibe, you’re ready for this creative adventure. Turn your room into a reflection of your style, and enjoy the satisfaction of a job well done. Just remember, plan carefully, be precise, and let your creativity shine. Happy wallpapering!
Contact Wall Mastery for Wallpaper Installations
Call or text: 352-561-3616
DIY wallpaper guide Groveland
Wall Mastery wallpaper tips
Groveland Florida room makeover
Wallpapering for beginners Groveland
How to wallpaper your room Groveland
Wall Mastery DIY wallpaper
Wallpaper project steps Groveland
Groveland Florida home decor tips
DIY wallpapering with Wall Mastery
Wallpapering ideas for beginners Groveland
Wall Mastery room transformation
Groveland DIY home improvement
Wallpapering tips and tricks Groveland
Wall Mastery advice on wallpaper
Groveland Florida room DIY
Easy wallpapering guide Groveland
Wall Mastery Groveland home projects
Wallpapering step-by-step Groveland
DIY wallpaper project with Wall Mastery
Groveland Florida room refresh
Wall Mastery DIY home decor Groveland
Wallpapering inspiration Groveland
Groveland Florida room upgrade ideas
Wall Mastery DIY wallpaper tutorial
Wallpapering with Wall Mastery in Groveland
Groveland Florida home improvement projects
DIY wallpapering techniques Groveland
Wall Mastery’s guide to wallpapering
Groveland Florida room design tips
DIY wallpaper ideas Groveland
Wall Mastery’s wallpapering hacks
Groveland Florida room renovation
Beginner’s guide to wallpapering Groveland
Wall Mastery’s tips for DIY wallpaper
Groveland Florida home makeover with wallpaper
Wallpapering with Wall Mastery in Groveland
DIY room transformation Groveland
Groveland Florida home decorating with wallpaper
Wall Mastery’s DIY wallpaper project
Wallpapering like a pro Groveland
DIY room makeover with Wall Mastery
Groveland Florida home improvement with wallpaper
Wall Mastery’s expert tips on wallpapering
Groveland DIY home decor with wallpaper
Wallpapering tutorial with Wall Mastery Groveland
Groveland Florida room design with wallpaper
DIY wallpapering advice Groveland
Wall Mastery’s guide to DIY wallpaper
Groveland Florida home projects with Wall Mastery
Wallpapering ideas for a fresh look Groveland